 AI PHOTOSHOOTS FOR FASHION BRANDS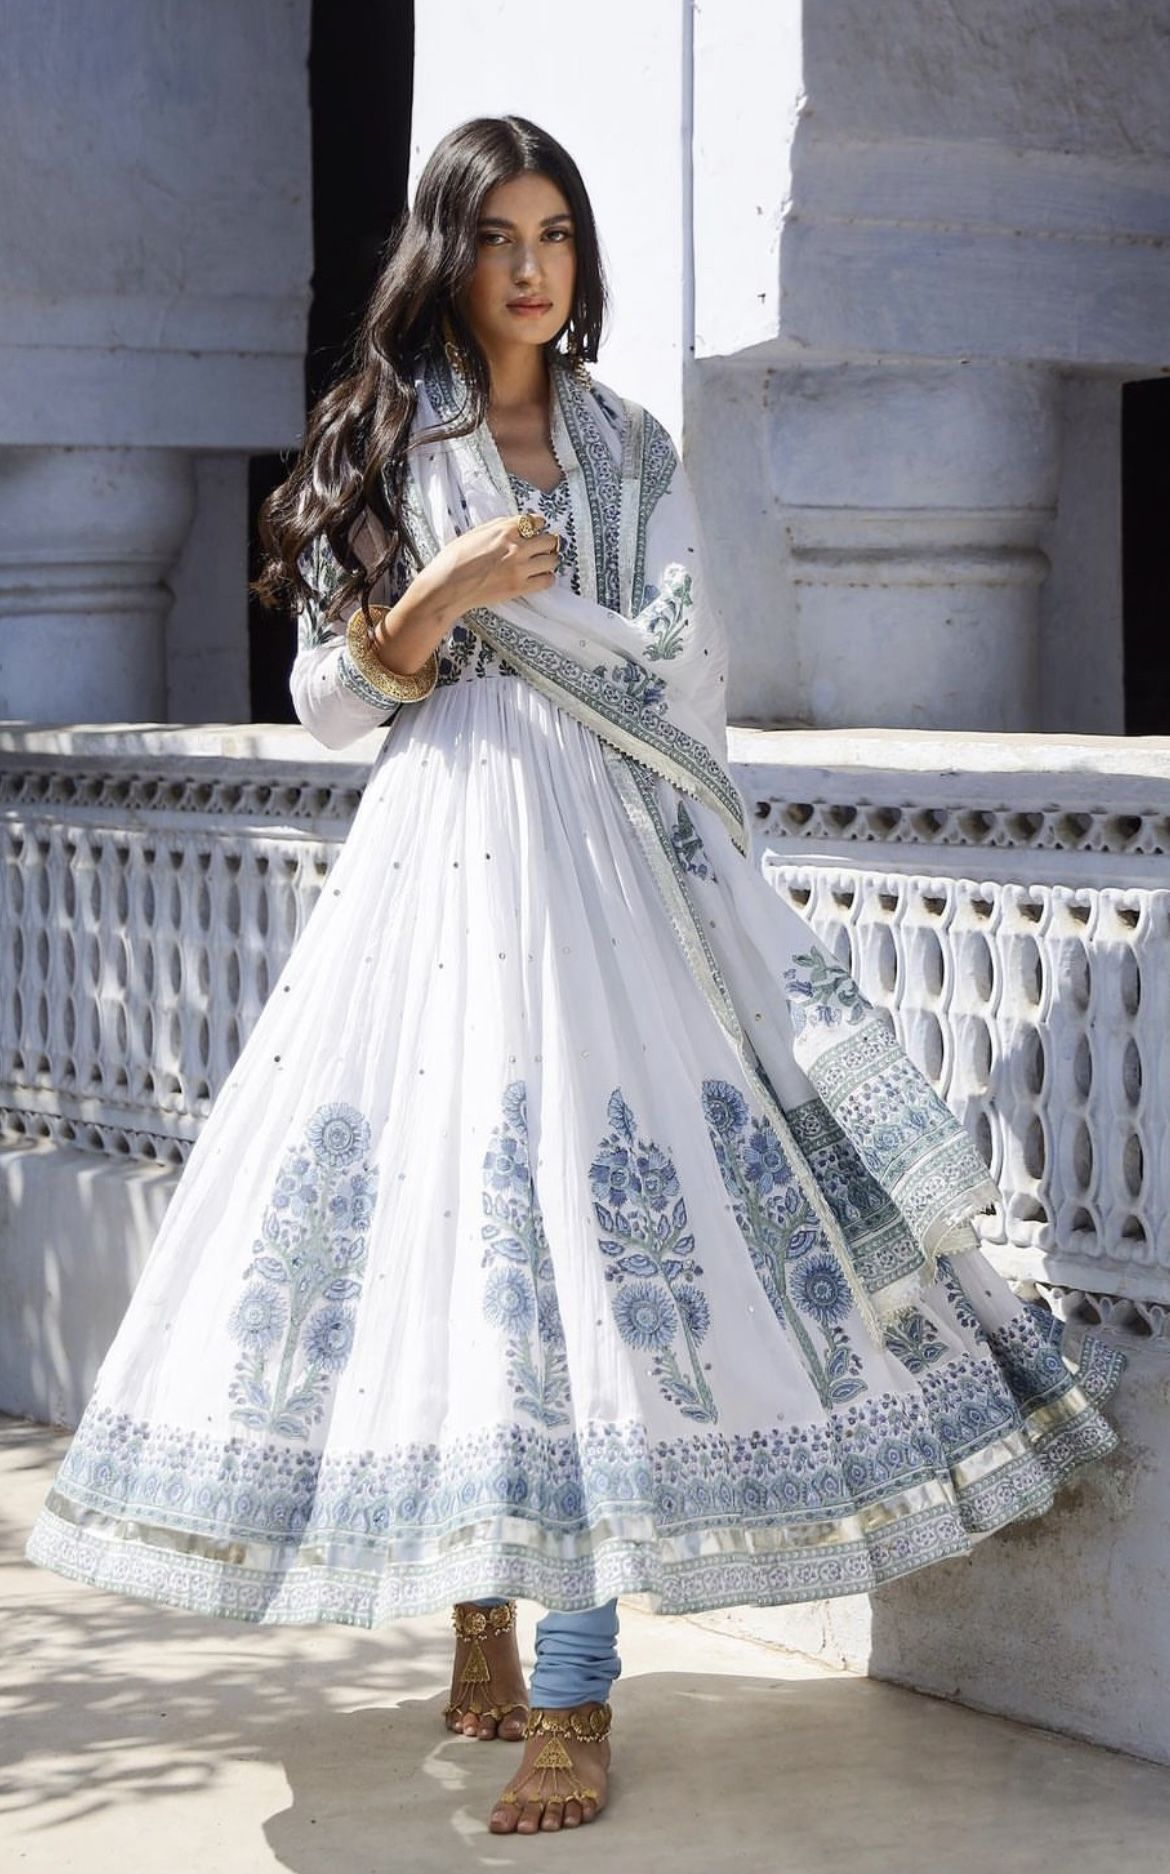
Before choosing a model or a setting, take a closer look at the photograph you are uploading. It is the reference for your garment: its shape, colour, print, and finishing details. A clear starting image makes it easier to explain what you want and to judge whether the result represents the actual product.
You do not need an elaborate setup to begin. Start with a tidy background, even light, and enough space to show the entire garment.
01. Find soft, even light.
Try a bright spot near a window with indirect daylight. Look at the garment rather than the room: are there deep shadows across the fabric, or bright areas that hide the texture? Move the garment or soften the light until the important details are visible.
Avoid mixing a warm room light with cool daylight if it changes the colour on camera. Keep filters off and compare the photograph with the real item. White fabric should retain its detail, and darker fabric should not become a featureless shape.
02. Show the complete garment.
Use a simple background that separates the garment from its surroundings. Straighten the item, smooth distracting folds, and leave a little space around it. Keep the neckline, sleeves, and hem inside the frame.
Point the camera straight at the garment rather than using an extreme angle. Check the edges before you upload: a cut-off sleeve or hidden hem makes it harder to judge the complete silhouette. If you are photographing a coordinated outfit, make the separate pieces easy to distinguish.
03. Check what makes the product yours.
Zoom into the photo before sending it. Can you read the pattern? Is the embroidery sharp enough to see? Does the neckline have the right shape? These are better questions than simply asking whether the photograph looks attractive.
If an important detail is blurred, retake the reference instead of trying to compensate with a stronger filter. Pay attention to buttons, borders, trims, and print placement. Avoid adding text, stickers, or decorative graphics over the product.
04. Choose one visual direction.
Think about where your images will appear. A product page may need a calm, consistent setting. A collection campaign may benefit from a more expressive scene. Pick the direction that suits the purpose, then keep it consistent across the set.
In the studio, begin with a model and setting that support the garment. Review one image first. Once you have a direction you like, build the remaining poses around it rather than changing every element between shots.
05. Review before you publish.
AI output can vary, so compare each image with the original product. Review both the overall silhouette and the small details at full size. An appealing photograph still needs to show the item your customer will receive.
- Compare the garment colour, print, and fabric texture.
- Check the neckline, sleeve length, hem, and proportions.
- Look closely at embroidery, fastenings, hands, and edges.
- Make sure accessories do not hide important product details.
- Check your final crop on the screen where customers will see it.
Choose the images that represent your garment accurately. If something important has changed, try again or use a different image rather than publishing a result that could confuse a customer.
Your next step
Bring your garment.
Find your point of view.
Start with a clear reference and explore your next shoot in Rachilo.
Open the studio ↗